LESSON 6: Create a Face in Picture Lens
Hello to all you up-and-coming Lens Creators! You’re almost ready to be unleashed into the augmented reality world. Just one more trick to keep up your sleeve…
In Lesson 6 you’ll build a Lens using the Face in Picture feature.
Let’s keep moving then!
Here’s what you need to succeed…
- Face in Picture Template This is your handy step-by-step written guide
- This video tutorial on Face in Picture. Follow along with Lens Creator Roman Jaquez
Face in Picture tutorial by Next Shift Learning
- Sample Practice Assets Some ready-made images you can import into the Face in Picture template to play with
- Your trusty Sketchbook (or ours)
Step 1: Explore


Come up with your own definition of a Face in Picture/Video Lens in your Sketchbook.
Have a look for some other examples you like. Which ones work especially well? Why? Jot any ideas in your Sketchbook (page 9).
Step 2: Design
In Canva (or any other image editing software you feel comfortable with) create a 2D image of your choosing. This will be the image that will be featured on your Lens. To work well it needs to have a hole in the middle where your user can show their head. Like those face in a hole photo boards you might have posed behind once upon a time…
Stuck for an idea for your Face in Picture Lens design?
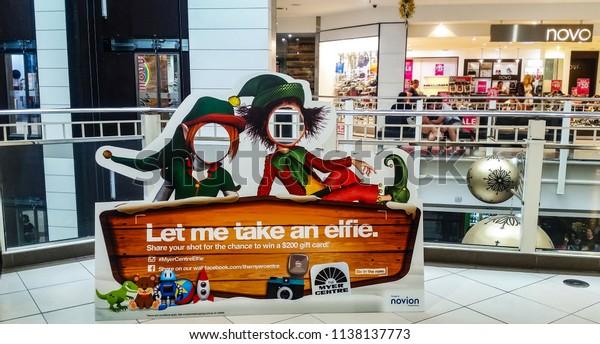
These Lenses work best when they gain a reaction from the user. Think about the last place you’d expect to, or want to, see a human face or facial features. It might be funny or just downright ridiculous.
If all else fails, create something that’s in season. Think Halloween, Ramadan, Diwali, Christmas or even just summer holiday vibes!
Don’t forget to use our Successful Lens Checklist to improve your design:
1. Does your Lens appeal to a certain audience?
2. Does your Lens have a clear purpose?
3. Is your Lens fun to interact with?
4. Does your Lens provoke a reaction from the user?
5. Is your Lens sharable?
If you’re new to design you can skip this step for now and use the Sample Practice Assets. This is a folder with some ready-made images you can import into the Face in Picture template and experiment with. Just follow along with the video tutorial.
Below are some examples of creative seasonal lenses:


Step 3: Watch
Watch this Face in Picture tutorial video below by Lens Creator Roman Jaquez. You can follow along the tutorial with these sample assets or your own image that you’ve just designed.
Step 4: Create
Open the Lens Studio software.
Find and open the “Face in Picture” template.
Develop your own Lens using the Face in Picture template. Check out our guide if you get stuck.
Spend a few more minutes trying your new Lens on your Snapchat app! (See the Pairing to Snapchat Guide here).
Don’t forget to save your Lens on your computer. Then, save a screenshot of your Lens as a .PNG ready for upload to the Lesson #6 Padlet. If you’d like, you can also Preview the Lens and save a video copy (just like in previous lessons, reminder here).
Bonus Level
An interactive Lens is always a crowd pleaser. If you want to take your Lens to the next level, try this.
Step 5: Share and Reflect (leave about 10 minutes for this bit)
On Padlet
Share your creation with your classmates and our friendly learner community by uploading your final work to the Lesson #6 Padlet. ✏️ In the caption of your photo, write a short answer to the following questions:
- What went well this time?
- How would you make an even better Face in Picture/Face in Video Lens next time?